


-
Quizy
-
-
Najnowsze posty w innych tematach
-
Kurs elektroniki – #4 – kondensatory, filtrowanie zasilania 1 2 3 4 18
Przez Komentator, w Artykuły redakcji (blog)
- 255 odp.
- 66 063 wyświetleń
-
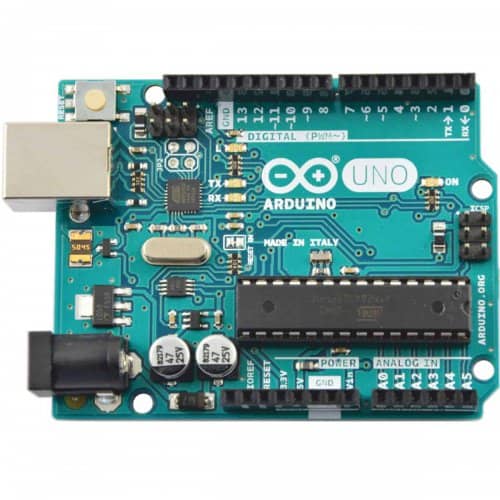
Kurs Arduino - #8 - Sterowanie silnikami DC, pętla for 1 2 3 4 17
Przez Komentator, w Artykuły redakcji (blog)
- 242 odp.
- 65 952 wyświetleń
-
- 3 odp.
- 200 wyświetleń
-
- 53 odp.
- 10 574 wyświetleń
-
Kurs elektroniki – #9 – elementy stykowe, przekaźniki 1 2 3 4 15
Przez Komentator, w Artykuły redakcji (blog)
- 214 odp.
- 87 520 wyświetleń
-


Pomocna odpowiedź
Dołącz do dyskusji, napisz odpowiedź!
Jeśli masz już konto to zaloguj się teraz, aby opublikować wiadomość jako Ty. Możesz też napisać teraz i zarejestrować się później.
Uwaga: wgrywanie zdjęć i załączników dostępne jest po zalogowaniu!